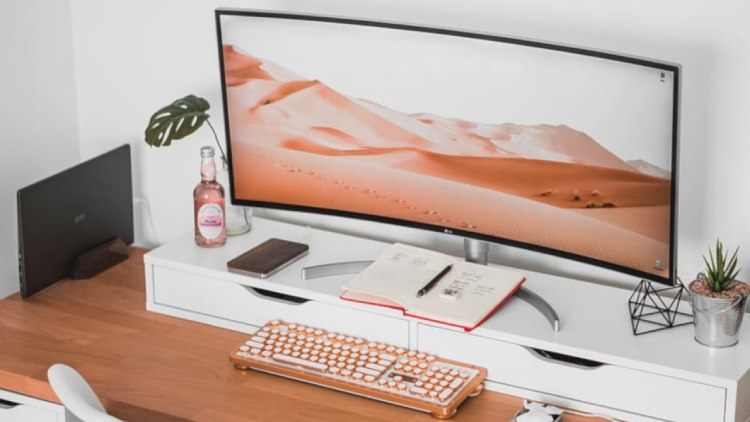
Working on a desktop for extended periods might strain your eyes and disrupt your sleep cycle. The leading cause is the dangerous blue light coming from your screen. Microsoft added Night Light functionality to the operating system to lessen the blue light from the display to address the problem.
Occasionally, the feature might not work correctly, and your screen might not get a night light filter added. Here are some methods for fixing Windows 10 or Windows 11 computers’ Night light issues.
Table of Contents
1.CONFIRM THE NIGHT LIGHTS SCHEDULE
Your computer’s Night light can be automated using Windows. As an illustration, you could instruct the OS to turn on Night Light at roughly 6 PM and then turn it off at 6 AM.
At a predetermined hour, Windows will turn off the Night light automatically. The schedule time is prolonged, or the function may be disabled and used manually.
1: Using the Windows key and the I key, select the Windows Settings menu.
2: Access the Display menu by selecting System.
3: Choose a night light.
4: Increase the Turn off time using the Schedule menu.
Instead of using quick toggles, you can utilize the Schedule Night light toggle instead. Enable Night light by clicking the speaker icon in the taskbar.
2.VERIFY NIGHT LIGHT INCENSE
You can adjust the overall sensitivity of Windows’ night light. Working with a small amount of sensitivity won’t have a significant impact over time. The Settings menu will require you to make the necessary adjustments.
Step 1: Open the Windows Settings menu by pressing Windows + I.
2: Navigate to System and select the Display option.
Step 3: Choose the Night light and turn on the slider next to Strength. To distinguish between normal and night light modes, turn up the night light intensity until you can.
3.IMPLEMENT LOCATION SERVICES
Some Night light capabilities rely on the location services on your computer. The “Sunset to Sunrise” option will be grey if the location services are a turnoff.
Step 1: Launch Windows Settings and select the Privacy & security option.
Step 2: Select Location and turn on Location services.
4.VERIFY THE DISPLAY SETTINGS ON YOUR MONITOR.
Some modern monitors, including the Samsung M7 and other Benq models, have an integrated Eye-saver feature. With a new moniker, it performs the same function as Windows 11’s Night light.
The night light in Windows 11 won’t work if your monitor is set to eye-saver mode. Turn off your monitor’s eye-saver mode with the remote control. You can now use Microsoft’s solution to lessen eye fatigue.
5.CONFIRM DATE AND TIME SETTINGS
Your computer’s incorrect date and time settings can also cause issues with built-in Windows features like a Night light. Verify that your computer’s date and time settings are accurate.
1: Open Windows Settings and select the Time & language menu.
2: Choose the date and time.
3: Select the proper time zone and press the Sync now an option at the bottom.
6.INSTALLED DISPLAY DRIVERS AGAIN
Corrupt or problematic display drivers may hamper the functionality of your computer’s night light. Reinstall the PC’s display drivers and try again.
Step 1:To access the Device Manager menu, right-click on the Windows key.
Step 2: Open the Display Adapters menu, click the graphics driver, and choose Uninstall device from the context menu.
Reboot the computer after confirming your choice. The system will install the needed drivers during the restart procedure.
7.Update Windows
Do you have an outdated version of Windows 11 installed on your machine? It could be the cause of why the night light isn’t functioning correctly.
Install the updated OS build by retrieving it. Moreover, Launch the Windows Update menu from Windows Settings. Restart your computer after installing the latest Windows 11 OS release.
Also Read: 3 Best Fake Zelle Receipts Screenshot Generator Tools
- 10 Tips For How To Use Craigslist to Buy - May 5, 2024
- Best 5 ways to how to get play store back on my smartphone? - May 3, 2024
- Drones: Basic Uses, Information, Features & More – 2024 - April 9, 2024